Upgrading Your MacBook Pro
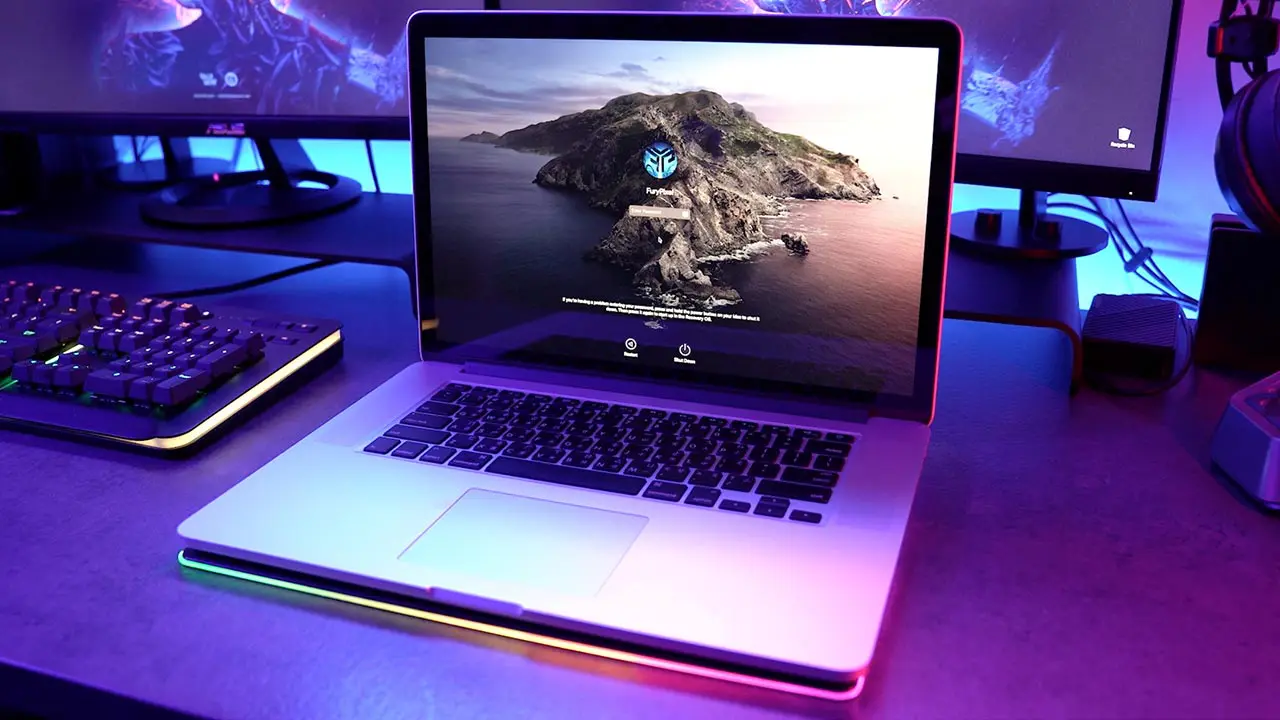
Do you have an old MacBook Pro that you’re looking to upgrade? This is something that I’ve often thought about myself and finally, I’ve gotten around to trying it out to find out for myself how one would go about doing it.
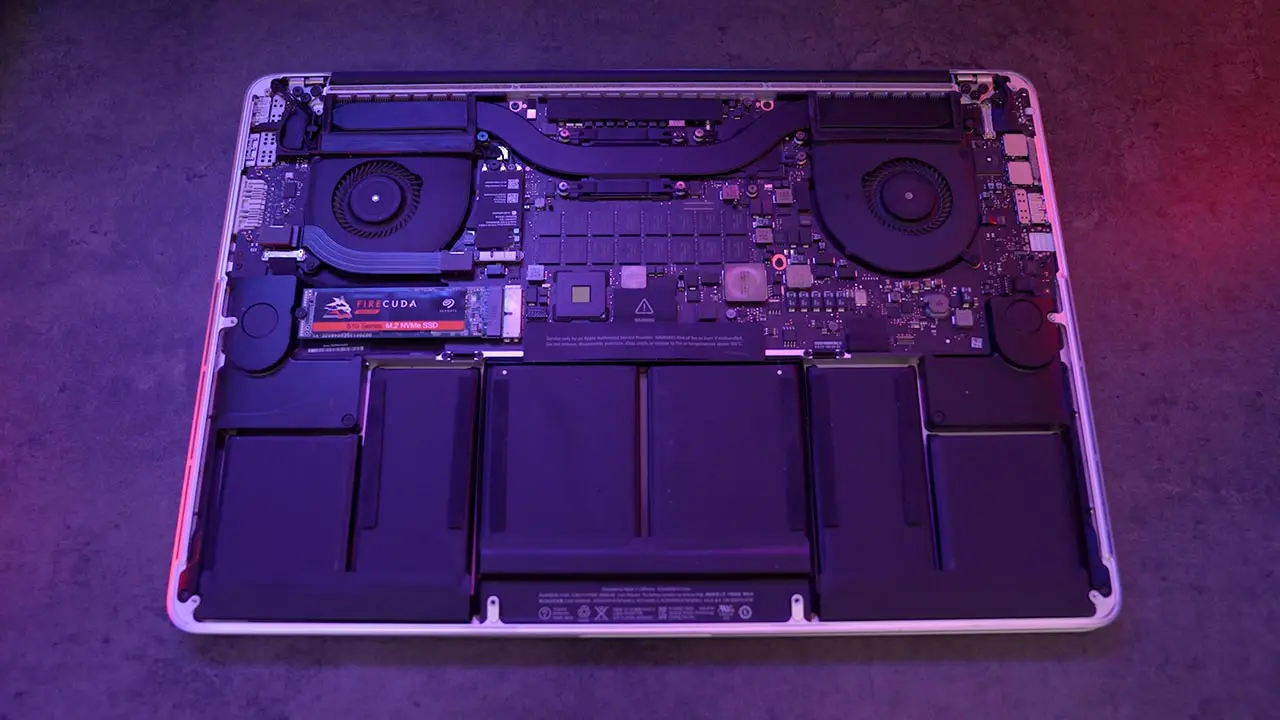
First off, this MacBook Pro 2014 features a 2.5GHz Core i7 CPU, 16GB of RAM, a Nvidia GeForce GT750M, and 1TB of storage.
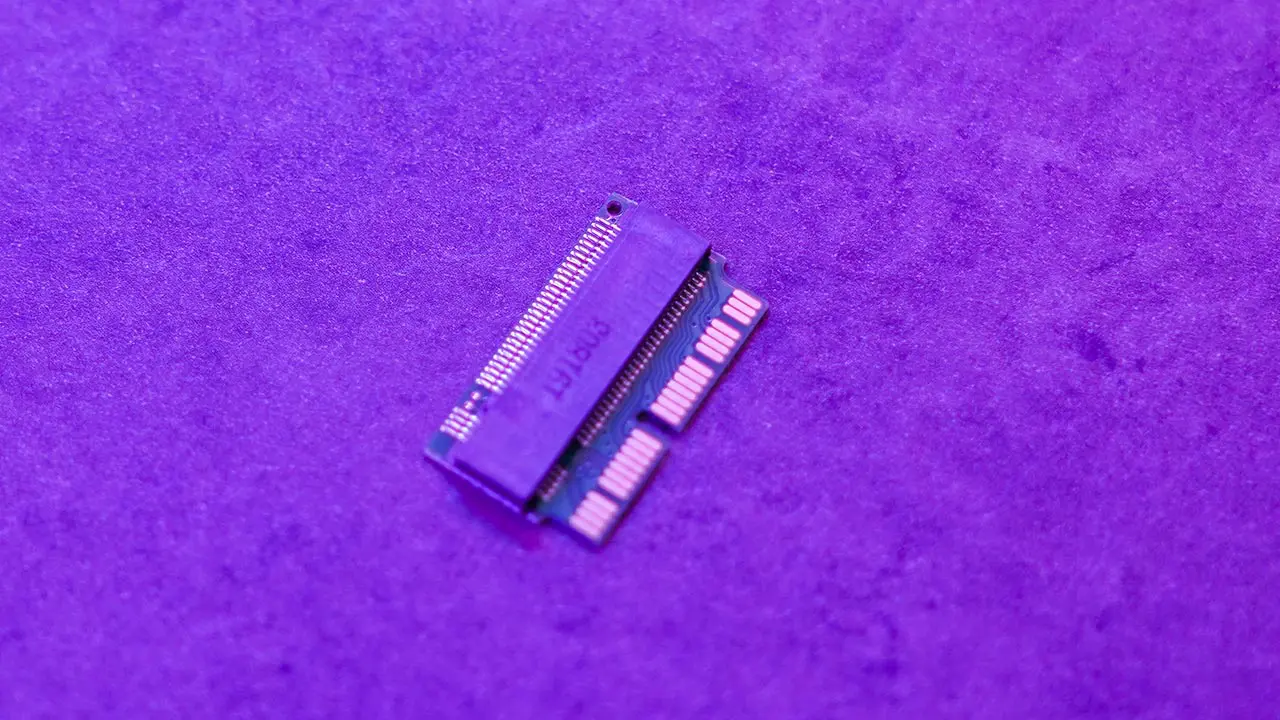
Now the problem with upgrading this MacBook Pro is that the RAM, CPU, and GPU are part of the motherboard so the only thing that we can really upgrade is the storage. And for that we’ll need 2 things – an M.2 and an adaptor.
Upgrading Storage Using Seagate FireCuda 510 SSD
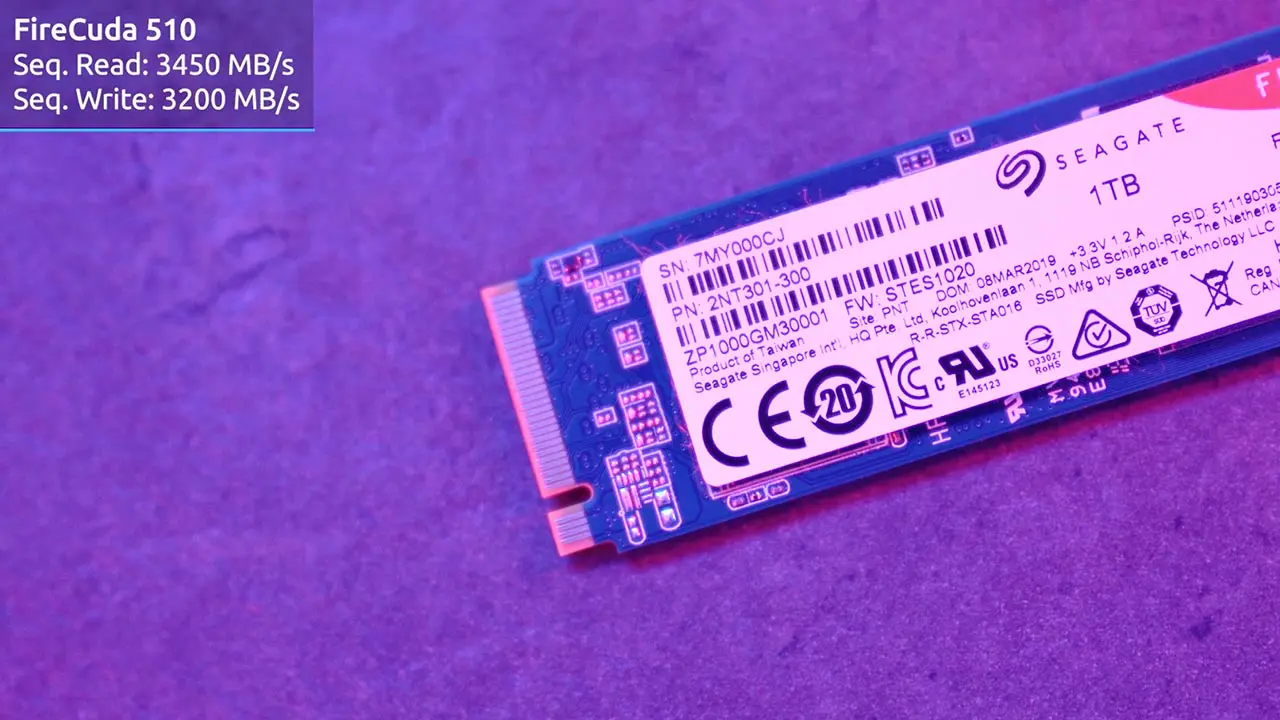
In this case we will be using a 1TB Seagate FireCuda 510 SSD. Now I know it has the same amount of storage space that the MacBook Pro originally had but believe me when I say that it’ll make a big difference since this PCIe M.2 SSD can get read & write speeds of up to 3450 & 3200 MB/s which is incredibly fast.
If you want to know more about the FireCuda SSD, you can find our full review here.
After setting up our new M.2 and doing a speed comparison of before and after, we see that it improves the read & write speeds by around 400 MB/s which is expected for the following reasons:
1. The motherboard model of this MacBook Pro will be updated in comparison with the SSD
2. We will need to use an adaptor since Apple has their own kind of M.2
Setting Up Your Graphics Card
The Razer Core X Chroma is a Thunderbolt 3 eGPU built in a really nice aluminum chassis that features 4 USB ports, 1 ethernet port, and also beautifully displays RGB on the front and side of the chassis which unfortunately you can only control only on Windows.
As for the Radeon VII, this GPU features 16GB of memory and 1TB of memory bandwidth so you already know that this is a monster of a graphics card.
Setting up the eGPU is really easy – all you have to do is drag the graphics card into the Razer Core X PCIe slot, insert the power connector, and you’re basically ready to go.
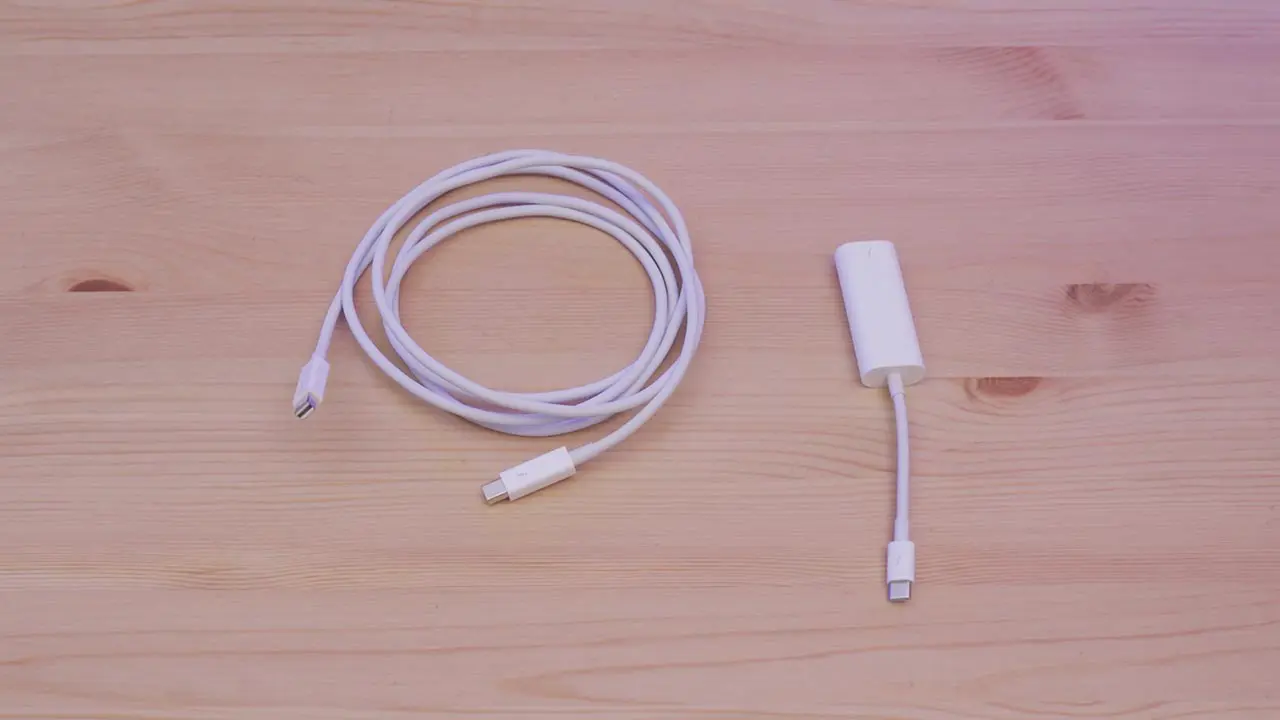
Now this eGPU comes with a Thunderbolt 3 cable which we actually can’t use since our MacBook Pro uses Thunderbolt 2. So we will need to get a Thunderbolt 3 to Thunderbolt 2 cable adaptor and a Thunderbolt 2 cable to make the connection.
At first your MacBook Pro won’t detect the eGPU so you’ll need to use a software called Purge Wrangler. I recommend checking out a very good tutorial on how to do this by Ruslan Tulupov.
Successful Upgrade? Well Yes, But Actually No
After purging my MacBook Pro, I’ve come across 3 main problems. At first it detected the eGPU but then I got a black screen. After doing some research, it turns out that my MacBook Pro was still working with the Nvidia GPU so I needed to install another software called PurgeNVDA to switch between the GPUs.
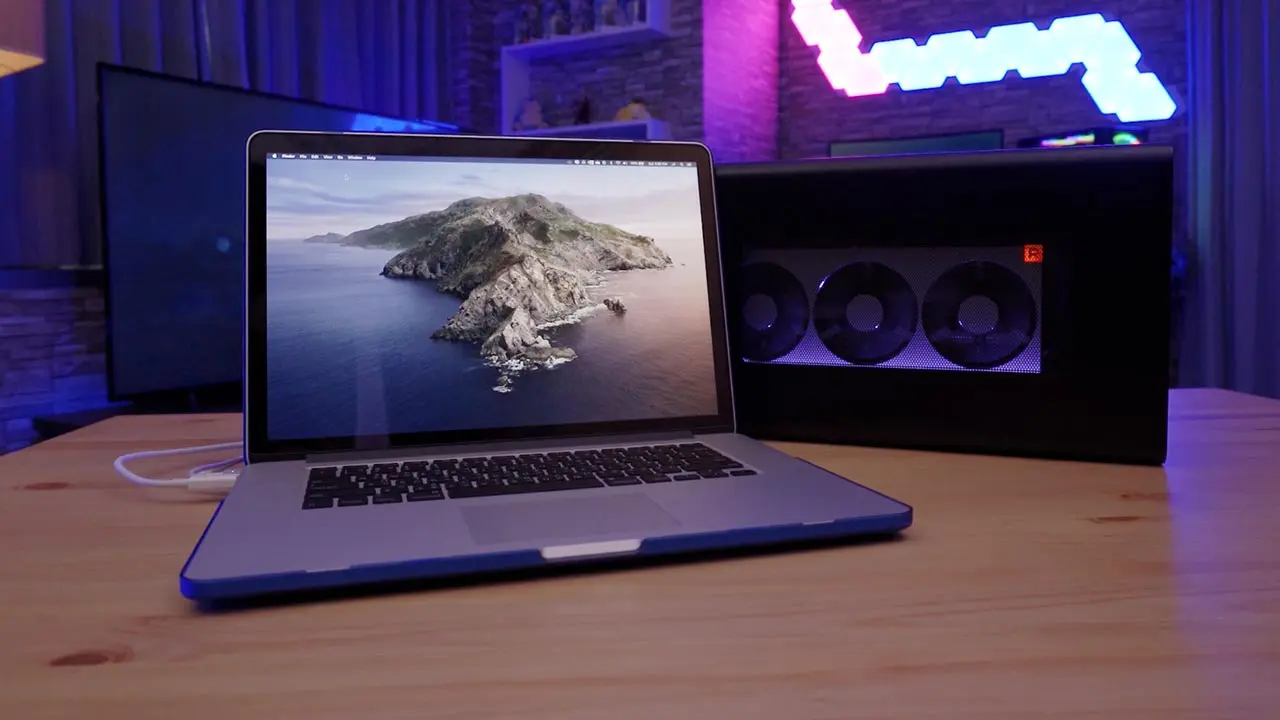
After following the steps and making a lot of adjustments, it was finally working. I was able to work directly using the Radeon VII, but now I’m left with just two very annoying issues.
The first one is that even when I close my Macbook Pro to work with a single monitor the monitor of the laptop won’t turn off.
The second problem is that after a certain period of time my MacBook Pro will restart for no reason, making it very difficult to work on.
Summary
Overall, I personally spent a lot of time trying to make this work – I’m talking days of testing, crashing OSX, and starting all over again. Not to mention all the cables and hardware that I needed to buy and at the end of it all, I’m still stuck with 2 problems.
So unless you really have the time to trial and error several times and have a lot of patience, you might be able to successfully upgrade your MacBook Pro, otherwise you would probably be better off just buying a new one.


